

Contents
Once the parcel is with the courier, the customer knows nothing. They ask on chat, call, or email to find out where the order is, and you look up the AWB and paste it into a message. With a few orders a day that works. With dozens, you spend the day answering the same question.
This guide shows how to send the customer an email or an SMS with the AWB number, the courier and the estimated delivery date, the moment the AWB is created, without touching anything. You can announce delivery status changes the same way. The messages go out from your own email or SMS account, in your store's name.
What you need
- A store and a courier connected, with the AWB created by the app (see the guide on automatic AWBs).
- An email or SMS account that you connect to the app. The app does not send from a domain of its own, it sends from your account.
- The customer's phone or email on the order. Without it the message is not sent and shows as Not sent with the reason.
Step 1: connect an email or SMS app
Open Applications → App store and pick one of the messaging apps:
- Email server (SMTP): any email server of yours, with the server, port, encryption, username and password.
- NewsMAN: emails through your NewsMAN account. The key comes from NewsMAN, under Account, API. If you have several lists with an SMTP account, you pick the list in the app's settings, under Sending.
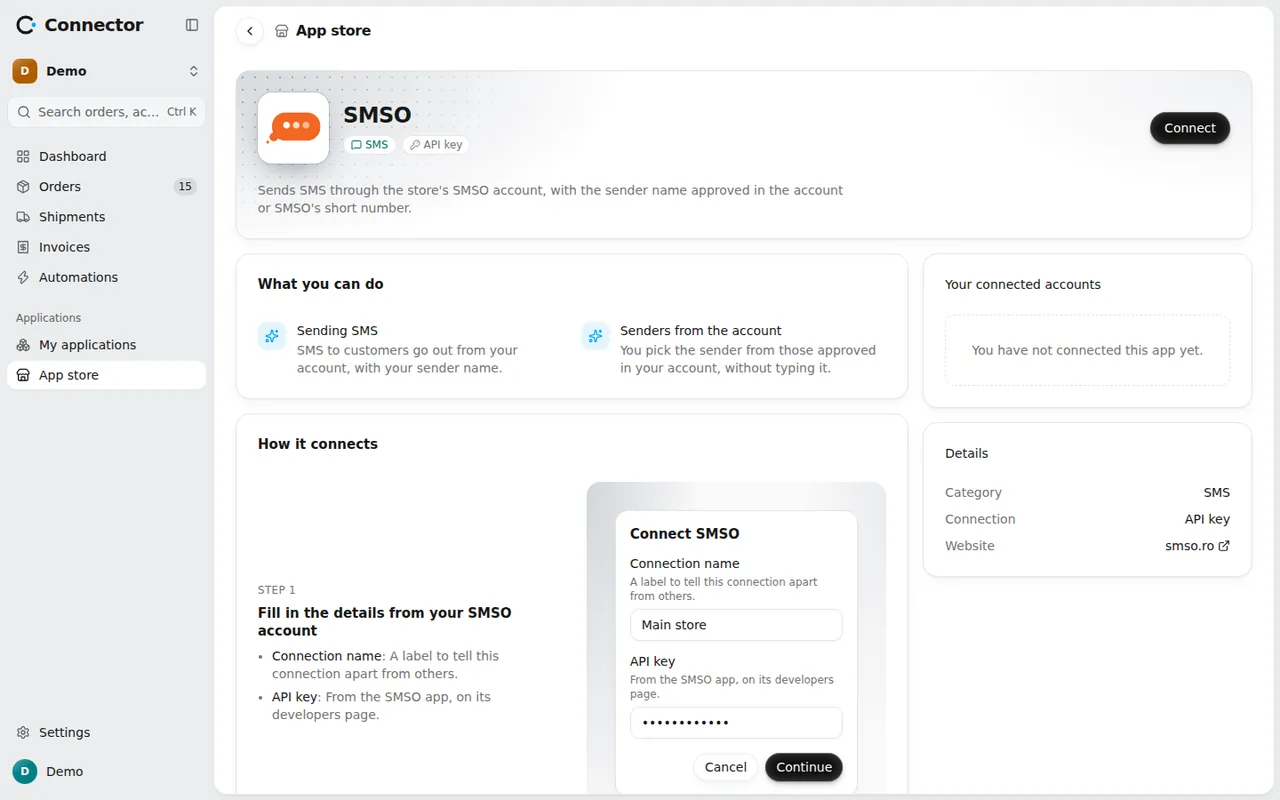
- SMSO: SMS through your SMSO account. You need the API key from SMSO.
The details are checked on the spot when you connect.
Step 2: create a sender
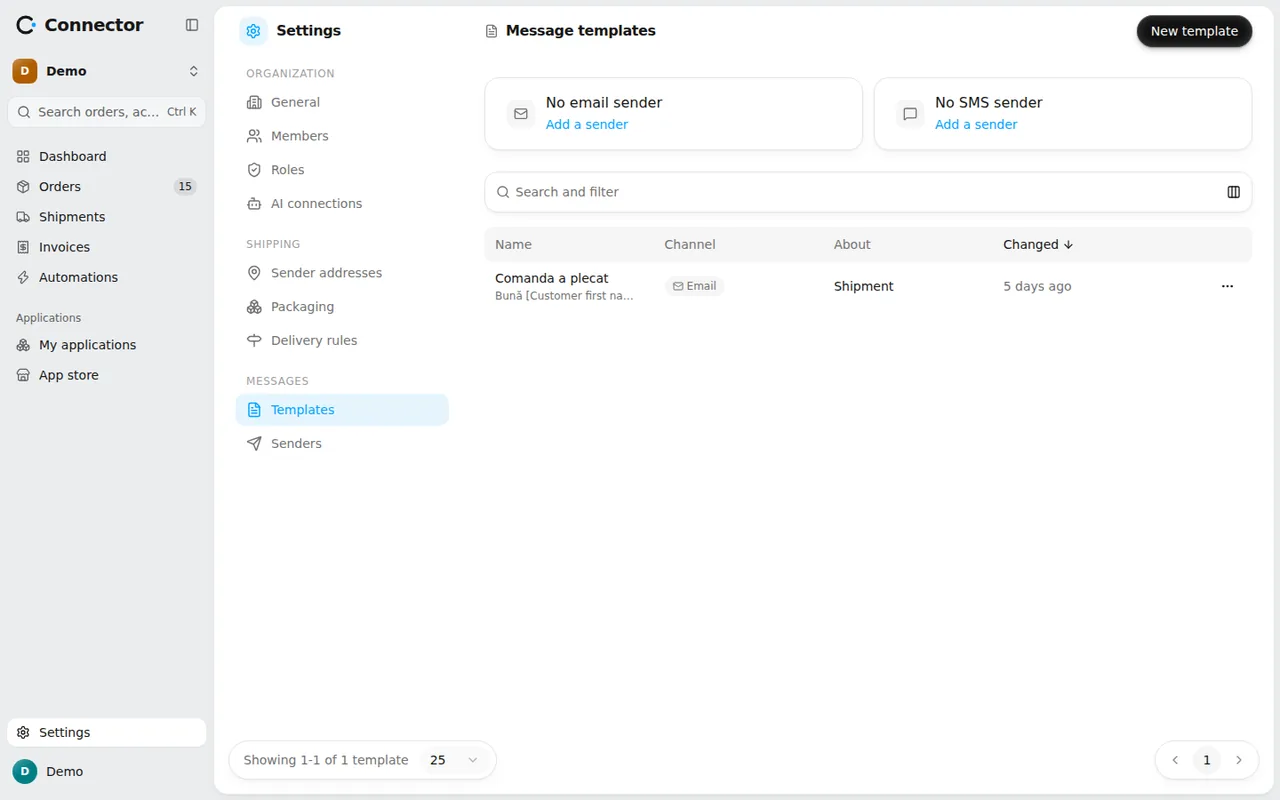
The sender is the identity the customer sees the message from. Open Settings → Messages → Senders and press New sender.
- For email you pick the app, the display name and the address it goes out from. You can add a logo, a color and a footer.
- For SMS you pick the app and the sender name: letters and digits, no spaces, up to 11. Some providers ask you to approve the name before the first send.
The first sender of a channel becomes the default. You can pick another sender for a given store or for a template. Send a test checks that the message reaches you.
Step 3: write the template
In Settings → Messages → Templates press New template. Pick the channel (Email or SMS) and, under What is the message about?, pick Shipment. The choice cannot change after creation, and the message only goes to orders that have an AWB.
Under Start from there are ready-made models: Order shipped for email and Parcel on its way for SMS. Use them as they are or edit them.
The shipment variables, from the editor's toolbar:
- AWB
- Courier
- Delivery service
- Estimated delivery date
The last two may be missing. For a variable that may be missing, you choose what to write instead, or whether the message is not sent at all. You also have the order's data: the customer's first name, the order number, the products, the delivery address.
For SMS the editor counts characters and messages. The Send without diacritics option keeps a message at 160 characters per SMS instead of 70.
Step 4: turn on the automation
Open Automations and press New automation. Under When pick the event:
- AWB generated, for the "your parcel has left" message;
- Delivery status changes, for messages when the status changes.
Under Then add the action Send email or Send SMS and pick the template. The app shows only the templates the event can fill. You can add both actions so the customer gets an email and an SMS.
Messages on status changes
For the event Delivery status changes, narrow it with a condition under If. The field is called Delivery status and can be, among others, Out for delivery, Delivered, Awaiting pickup or Delivery issue.
Without a condition the message would go out on every status change. A customer does not need six messages, so pick a single status, usually Out for delivery.
A customer receives the same template once for the same AWB. If you want otherwise, tick Send even if already received.
Check that it works
Place a test order with your own phone number or email. Once it gets an AWB, open the order: the Messages section shows the message, its state (Sent, Failed, Not sent or Sending) and that it came from an automation. If it failed, the reason is next to it, for example that the provider refused the connection details.
In Automations, Run history shows every run and its result. You can also send by hand: from the order's page, or in bulk from the orders list with Send message on the ticked orders.
The content of messages is kept for 90 days, and the history row stays.