
Contents
The order comes in, the payment is confirmed or the parcel ships, and someone has to open Oblio and write the invoice. With dozens of orders a day, invoicing becomes a job of its own, with series and VAT mistakes you only discover at the accountant.
This guide shows how to connect Oblio to your Shopify or WooCommerce store so the invoice issues itself, in your series, with the VAT rates from your account. You set it up once.
What you need
- A Shopify or WooCommerce store connected to the app.
- An Oblio account with at least one invoice series.
- The Oblio login e-mail, the API secret and the tax id (CIF) of the company you invoice from.
Step 1: connect your Oblio account
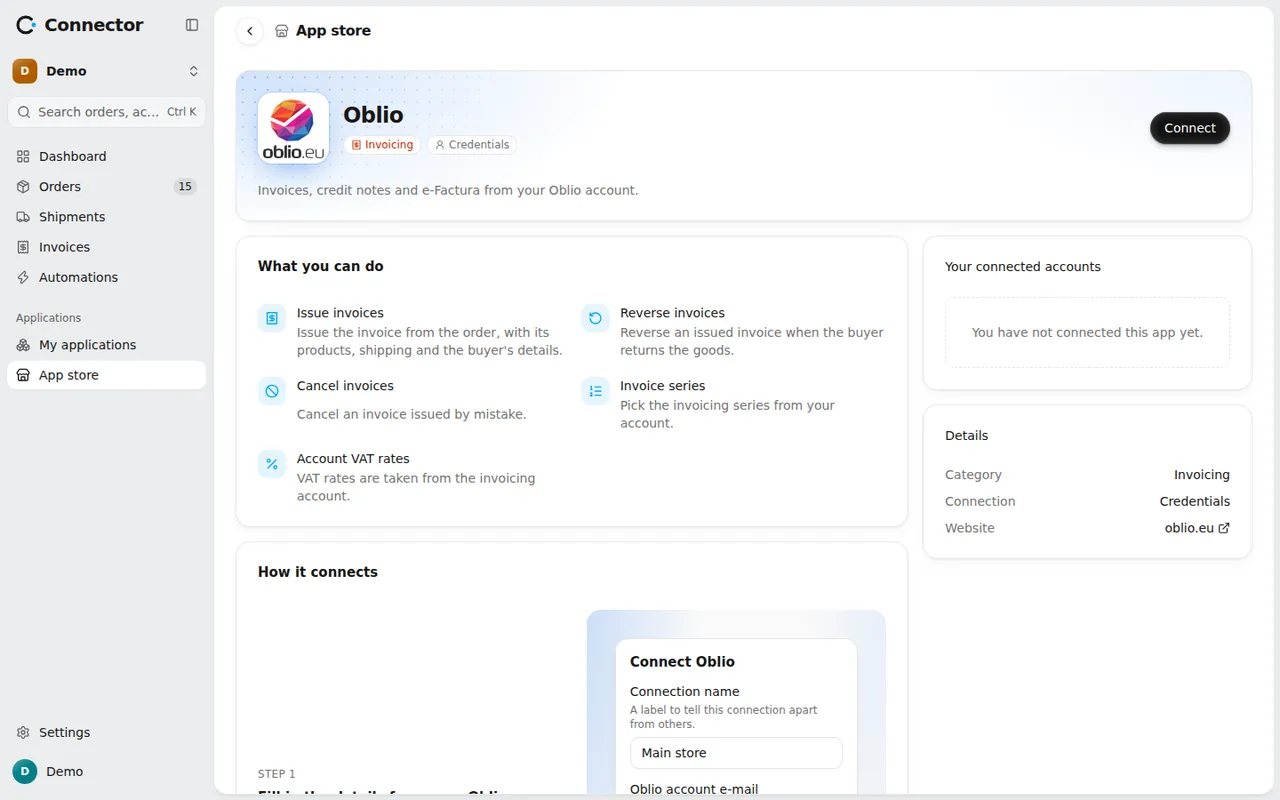
Open Applications → App store, the Invoicing section, and pick Oblio. Fill in:
- Oblio account e-mail;
- API secret, from Oblio, Settings > Account data;
- Company tax id (CIF), the company in the Oblio account the invoices are issued for.
On connect, the app checks two things: that the e-mail and secret give access, and that the CIF is one of the companies of that login. A valid login for another company fails the check, so you do not invoice from the wrong company by mistake.
Mind the secret: Oblio changes it every time the password is reset. After a reset the connection stops, and the card in My applications shows Reconnect. Enter the new secret and invoices carry on.
Step 2: choose the account for the store
With a single invoicing account, the store uses it by itself. With several, pick one in the store's settings, Invoicing section, at Invoicing account. Otherwise orders get the issue "There are several invoicing accounts and the store has none selected."
Step 3: invoice settings
From Applications → My applications, press Settings on the Oblio card.
In Documents:
- Invoice series: pick it from the list of series in Oblio.
- Unit of measure: exactly as in Oblio, for example "pcs".
- Shipping line name and Days until due (empty: no due date).
- Invoice language for buyers abroad: English, German, French, Italian, Spanish or Hungarian. Empty means Romanian.
- E-mail the invoice to the buyer: it goes out from Oblio, with the e-mail template set there.
- Mark as collected at issue: one option per payment method. Cash on delivery is never marked as collected at issue.
In VAT you pick, for each rate in the store, the matching rate in Oblio. For orders with 0 VAT you choose separately intra-community supply, export and "no VAT (exempt)". A rate that is not chosen blocks the invoice until you choose it.
The invoice carries the order's currency: for Oblio the app has no list of refused currencies.
Step 4: turn on the automations
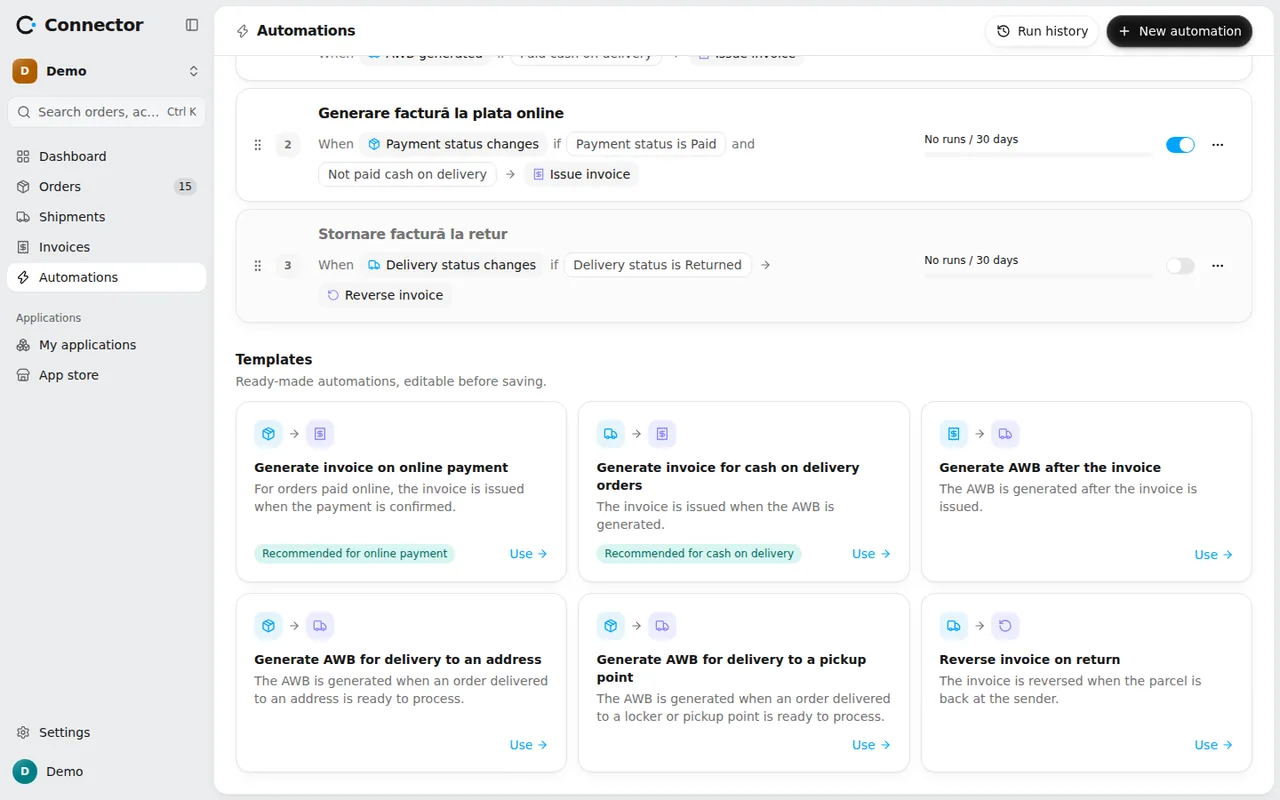
On the Automations page, in Templates, press Use on:
- Generate invoice for cash on delivery orders: the invoice is issued on the AWB generated event, for cash on delivery orders;
- Generate invoice on online payment: the invoice is issued when the payment status changes, for orders paid online;
- Generate AWB after the invoice, if you want the AWB to follow the invoice.
The action that runs is Issue invoice. You can change the conditions before saving.
Issuing pace
Oblio limits how many documents you can generate in a given interval. The app respects the limit: it sends at most one invoice every 4 seconds per account. For a large selection of orders, the invoices come out one after another, not all at once, so a hundred invoices take a few minutes. You do not need to do anything: they are queued.
What blocks an invoice
The app checks the order before sending anything to Oblio. Frequent reasons:
- a Bucharest billing address without a sector;
- a VAT rate not chosen in the settings;
- no series chosen;
- an order with no billing address, or with nothing to invoice.
Fix it on the order page and the automation starts on its own.
What the integration does and does not do
- Invoices go out without saving the products to the Oblio product list, and stock is not moved.
- Every invoice carries a unique code. If Oblio does not answer, the invoice stays Unknown outcome, and Issue again resends the request with the same unique code, so that Oblio does not issue two invoices.
- e-Factura: the app does not send invoices to e-Factura and does not show the sending status. You set up sending in Oblio. The app only makes sure the data is complete, for example the sector for Bucharest.
- Cancel invoice can be refused by Oblio if the invoice is already in e-Factura. Then you reverse it.
- The credit note is a full one, referring to the original invoice.
Check the result
On the Invoices page you see each invoice with its status: Being issued, Issued, Refused, Unknown outcome. From the order, View invoice opens it. In Run history, on the Automations page, you see what ran and why an order was skipped or refused.
For returned parcels, the invoice can be reversed automatically. See the guide on reversing the invoice on return.